Classic Canvas helps you build and manage campaigns more easily. In this article, I’ll walk you through the campaign workflow at a high level so you can see how everything fits together. I’ll also include links to other articles that show you how to complete specific tasks on the canvas, like adding tactics or setting frequency caps.
| ℹ️ Learn about campaign building with the New Classic Canvas experience? Click here. |
If campaign building were a novel, the canvas would be the denouement. This is where you weave the strands of your previous work–audiences, creatives, and trackers–into ready-to-publish campaigns.
The power of Classic Canvas is in tactics, customizable line items that sit inside a campaign. The number of possible use cases for tactics is far beyond the scope of this guide, so let me focus on one that’s commonly used by our clients and likely to intersect with your interests. In this demo, a client wants to create a campaign that retargets website visitors. I’ll show you how to set up campaign tactics to gain exposure to RTB and Deals inventories. You'll also learn how to customize three targeting parameters at the tactics level.
BTW, click here if you're building a campaign on Journey Canvas.
Setting the stage
Before we dive into the details, let me set the stage by defining a few terms you'll need to know when interacting with the new Classic Canvas interface. BTW, if you're already familiar with Classic Canvas, most of this will be a review, with a couple of interesting surprises tossed in.
- Journey settings panel: Click the gear icon near the top of the canvas to open a panel that configures settings applicable to all campaigns on the canvas.
- One drawer: Click the pencil icon to open a brand new interface that simplifies access to all the tools you need to review and configure your campaigns. I'll explain in more detail below.
- Campaign: The rectangular box is called a campaign. It holds all the important elements like audience, creatives, targeting settings, budgets, flight ranges, and more. Each campaign can hold one or more tactics. You can have multiple campaigns on the canvas.
- Tactic: Add your audience and creatives here.
- New Tactic: Click the button to add tactics to the campaign.
- Campaign: An example of a separate campaign on the same canvas.
- New Campaign: Click the button to add campaigns to the canvas.
Take a tour
See the workflow from start to finish in a minute or less.
Prerequisites
This article references digital assets (i.e. audience, mapping, and pixels) created in other articles that are part of the Classic Canvas Quickstart guide. Ideally, you're reading that guide and are working diligently to follow the steps in sequence. If you're a freethinker who just can't color inside the lines, following the guide out of sequence works, too.
TOC
Here's a clickable list of links to the core sections in this article.
- Opening the canvas
- Building a campaign framework
- Adding tactics
- Customizing targeting parameters
- Adding audiences
- Adding creatives
- Configuring General Settings
Opening the canvas
There are two ways to open the canvas. If you’re working on an existing journey, click Journeys in the top menu.
Then click a journey name or click the Canvas button.

If you are building a new campaign and working through the wizard, the workflow is more direct. When you land on the last wizard step (called Review), click Finish. illumin automatically takes you to a blank canvas.
Building a campaign framework
Once you get to the canvas, the first step is to build a campaign, which is a digital box that holds one or more tactics. Go to the left-hand panel and expand the Toolbox folder. Go to the Campaign heading and drag an option to the stage. In this example, I'm building an Open Web campaign.

The Quick Campaign Creation form displays. Enter a unique campaign name (you can edit the name later) and select one objective: Raise Awareness, Drive Sales, or Perform Site Actions. The option you select here changes the mix of goals you can add to the campaign. For example, if you select Raise Awareness or Perform Site Actions, you cannot enable a ROAS goal.

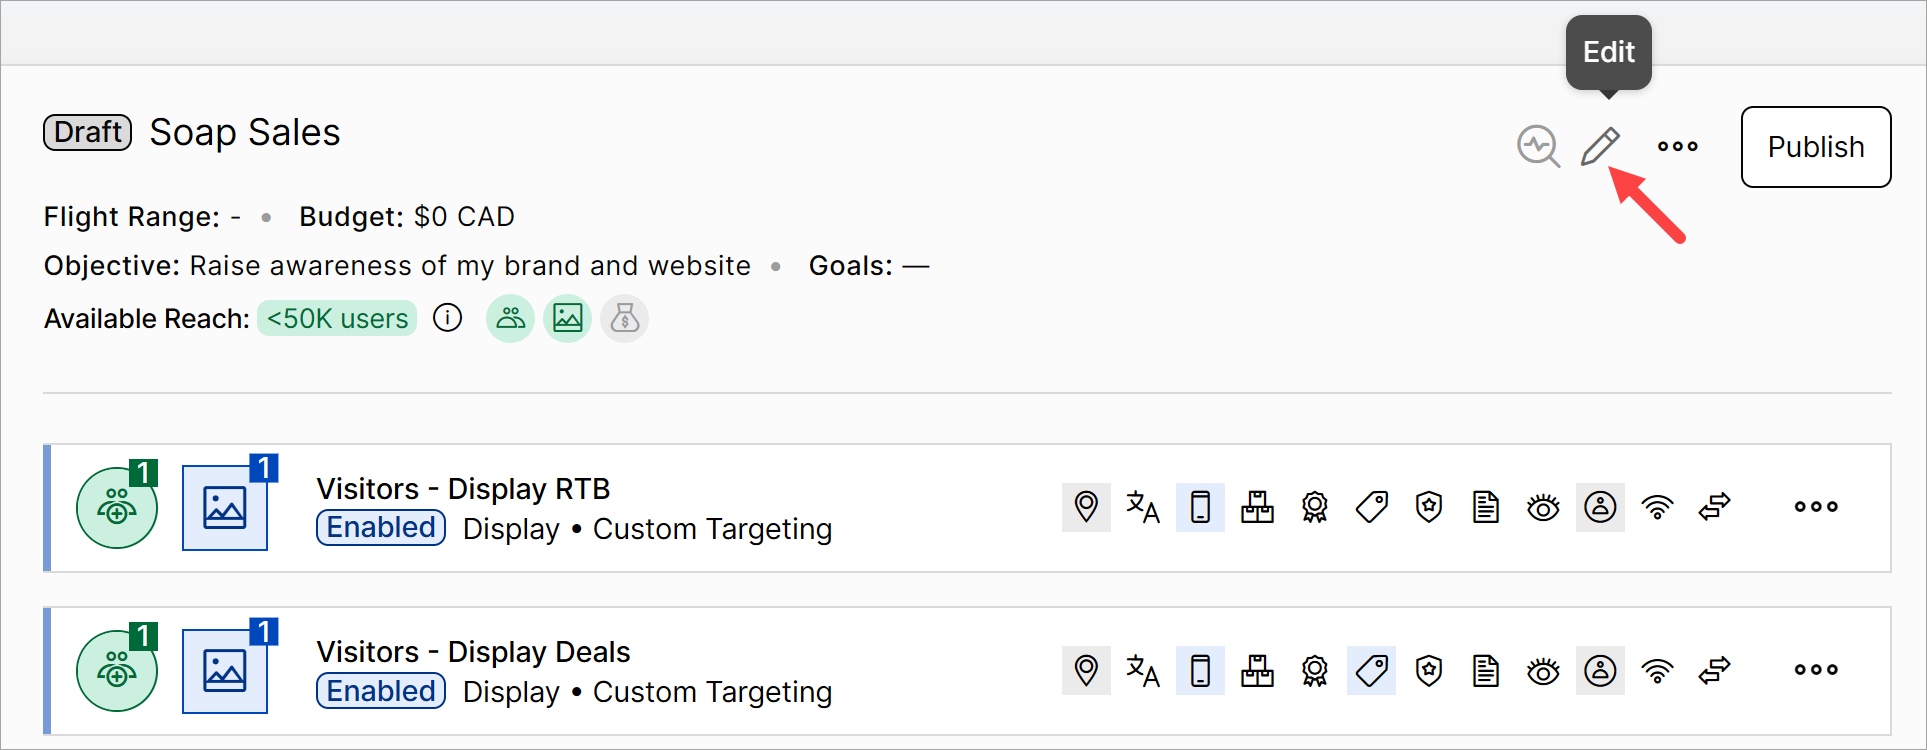
In the bottom corner, click Create. The window closes, and the page returns to the canvas with an empty campaign. To review or update detailed settings, click the pencil icon and scroll through the forms.

BTW, if you click Create & Full Setup, a side panel displays. Scroll through the forms and configure detailed campaign settings now or later. You can configure:
- General Settings: Edit the campaign name, set the Max CTR, and set the Exposure Limit (total number of times a user can be targeted by the campaign's tactic).
- Budget & Scheduling: Add or edit the path’s flight range, enable auto or manual budget allocation, and set Dayparting targeting.
- Goals & Billing: Revise the campaign objective and set a unique objective for each creative type (e.g. ROAS for connected TV and CTR for display). Review and customize Billing Details (e.g. client min max CPMs).
Adding another campaign
You can add multiple campaigns to the canvas. Click the New Campaign button and repeat the steps to add another campaign on the same canvas.
Adding tactics
Add one or more tactics to a path. For this demo, I’ll add four display tactics. Click the New Tactic button and select a creative option on the drop-down, or drag a tile from the side menu.

I’ll repeat that step three more times.

Defining an audience for each tactic
Adding an audience is my next step, which, BTW, is optional. Instead of adding an audience, you could, for instance, keep the journey wide open and try delivering to as many people as possible based on context (e.g. select one or more Targeting keywords).
I decide to add an audience and rename each tactic based on the segments I add in a later step.
- Users who abandoned the cart.
- Every website visitor, excluding users who bought something.
Splitting the audience into these segments lets me retarget users who are more likely to convert.
Renaming tactics
Go to the campaign and rename the tactics so the campaign's workspace is easy to understand. To open the Edit panel, click the tactic row one time. Go to the Tactic Name field and enter a descriptive label. I'll call the first one Retarget - Abandon Cart - Display RTB. Click Save and Close.
Repeat for the next tactic and call it Retarget - All other users - Display RTB.

Next, I’ll rename the other tactics and change the inventory type from RTB to Deals, but keep the same audience segments.

Customizing targeting parameters
If you read my article about advertisers and remember the gist of that content (I know that's a tall order), you'll recall that users can configure targeting at the advertiser, campaign, and tactic levels. When you create a campaign, illumin auto-imports those settings. However, you can override those settings at the tactic level. I'll show you how to do that right now. In this example, I'll customize three parameters:
Technology
Go to the top tactic row and click the Technology icon.

To change the default settings, uncheck the box and click one or more toggles to disable access. In this case, I’ll enable desktops, mobile devices, and tablets and disable the rest. Click Save & Apply to other tactics to save a bit of time.

In the next window, you can add the same Technology settings to other tactics. In this case, I select all the other tactics. Click Apply in this window and Save in the next window.

Deals
Let’s configure settings for the two Deals tactics. Go to a Deals row and click the Deals icon.

On the slider panel, uncheck the box and click the Add Deal(s) button.
- On the next window, check the box next to Deal Name to select all.
- Click the Add Selected button.

On the next window, click Save & Apply to other tactics. We’ll apply the same settings to the other Deals tactic (but not all tactics). Click Apply on this window and Save on the next window. BTW, there’s no need to filter the list. We’re running a display campaign in this example. If a deal in the list does not offer display inventory, the illumin platform won’t consider it, so there’s no downside to selecting all.

Frequency caps
You have a choice: create one set of frequency caps at the campaign level and apply them to all tactics, or customize caps at each tactic level. In this example, I’ll create tactic-level frequency caps. You can always update these settings later after running the published campaign and reviewing reports.
- Go to a row, click the three-dot icon, and select Edit. A side panel displays
- Go to the Exposure Limit heading and click the pencil icon.
- Uncheck the box.
- Add a value and select a period.
- Optionally, click the plus (+) icon to add levels of caps.
- Click Save to keep these changes or Save & Apply to other tactics.
Leaving the cap open-ended is not recommended. You risk serving impressions to the same users again and again and again. If you’re retargeting, aim for a high frequency to chase conversions but not open-ended.

Adding audiences
Let’s add an audience to each tactic. Go to the left side of the canvas and click the Audiences tab.
Let’s start with Purchase, an audience based on a page event tracker created in an earlier step to pool users who bought something on the client's website. I want to add that pool to each tactic and then block those users. Why block them? Because I don’t want to spend budget retargeting users who already converted. Duh.
- Go to the list and check the box next to Purchase.
- Click the Apply to multiply tactics button.
- On the popup window, select all tactics and click Apply.

Notice the number in the green Audience icon? It tells you how many audiences are stuffed into that tactic. Now let’s set the platform to block all users in the Purchase pool from retargeting.
Go to a row, click the three-dot icon, and select Edit.

On the side panel, select the Audiences tab, click the button, and select Block. Click Save and Close. Repeat the same steps for each tactic.

Next, I’ll add multiple audiences to each tactic at the same time.
- Check the box next to each audience you want to add to the tactics.
- Click the Apply to multiply tactics button.
- On the popup window, select all tactics and click Apply.

You need to carefully consider how to manage each tactic's audience. Here’s an example. The screenshot below shows all my audiences on the Abandon Cart tactic. I already blocked users in the Purchase pool, so that stays unchanged.
Do I want to retarget users in all other audience pools? Sometimes, blocking makes sense, but other times, you’re better off removing the audience from the tactic.

I decide to keep two pools: allow users in the Add to Cart pool and block users in the Purchase pool. Repeat the steps for each tactic. Depending on the tactic, you could have a different audience mix in each tactic.

Adding creatives
Use the drag-and-drop tool to add a creative to each tactic. Go to the side menu and click Assets > Creatives tab. Expand the folder and drag the same creative to the blue square icon in each tactic. A number displays, which indicates the number of attached creatives.
Editing campaign settings
You'll need to configure or review a few settings before publishing. Go to the campaign and click the pencil icon. The General Settings side panel displays.
Configuring General Settings
Adding an exposure limit
I'll limit the number of impressions served to each user each day. Go to the General Settings heading and click Edit. Go to the Exposure Limit heading and click the pencil icon. In this demo, I'll limit impressions served to each user to 5 times per day. Click Save.
Budget & Scheduling
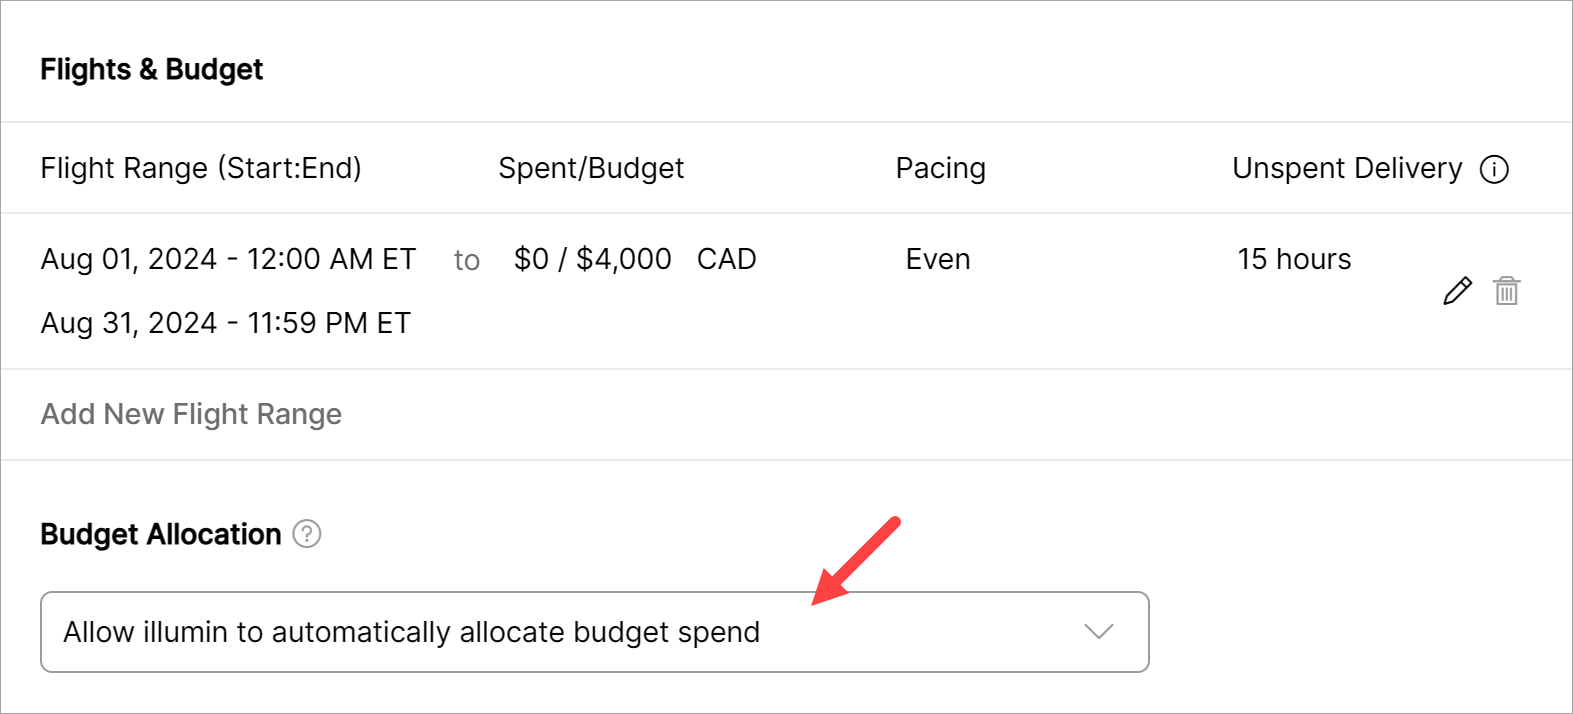
Go to the Budget & Scheduling heading and click Edit. Scroll down and click the Add New Flight Range link.
Fill in the fields.
- Click two flight range fields and set the start and end dates and times.
- Enter a maximum budget for the period.
- The default setting for Pacing is Even. That setting tells the algorithm to spend the budget evenly across the duration. There's no need to change that setting right now.
- Leave the Unspent Delivery default unchanged.
- Click Add.
Budget Allocation
This is an important step if you have multiple tactics with two or more different creative types. How do you allocate the budget between creative types? This tool helps you allocate up to 90% of the budget between creative types so that you can better manage your spending. In this example, my campaign has a $4,000 CAD budget with the same creative type (both display). So, in this demo, that budget allocation tool doesn't apply.
Daypart Targeting
This feature lets you choose the time of day to display impressions. For now, I'll accept the default setting (Run ads all the time). Click Save.
Goals & Objectives
A lot of this information (e.g. Campaign Objective) might be pre-filled based on previous steps. I'll add a Cost per Click campaign goal and enter an estimate of $1. Click Save and then Close.
Ready to continue?
Now you know how to create a campaign on Classic Canvas. To complete your adventure, return to the Classic Canvas Quickstart guide and read about publishing and reporting.